Yes, a major repair. At least to this woman it is something I would never think that I would be fixing. I'm speaking about the Toilet, Throne, the Porcelain Princess....
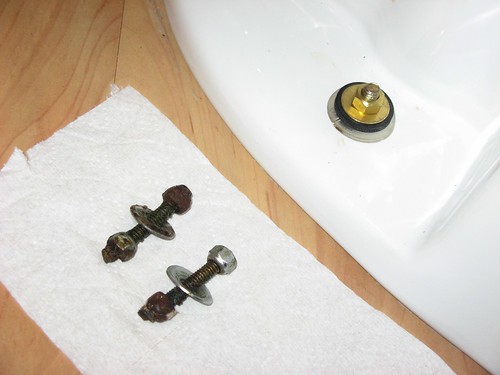
It all began when Peanut came to me with a bolt. Peanut:"look grama what came out of the toilet." Well it was the bolt that fastens the porcelain commode to the floor.
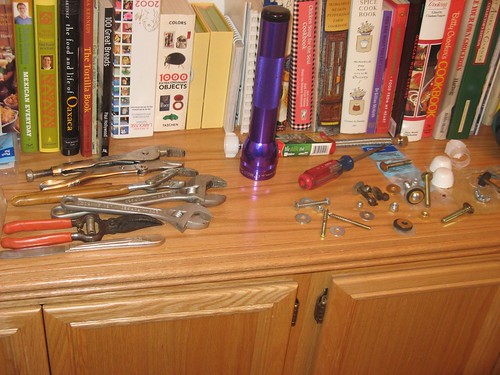
So I checked it out and was appalled at what the builder of this home used. He used a headless bolt that was threaded the length with a nut at each end. WHAT? (photo below)
Note: This is the porcelain commode in our guest bathroom so it is not used a lot. Notice my cookbooks on this counter top.
So I went to the Home improvement store and bought new bolts. I figure I would replace both bolts. NO FIT. So back to the store for smaller bolts. NO FIT. By then I had spent so much time with the potty that I saw some running. Very silent running. I could see the water moving. So I decided it was time to change out the guts of the toilet. Back to the Home improvement store. Got the big box of flapper guts. Back home, discover this box although it said;"Complete" it did not include a new float with tube. Back to the store, got the float kit.
I got all of this in and thought it was ok. Still needed to fix the bolt situation. Well last Friday night 8/12 Peanut comes to me to say that there is water in the bathroom. Come to find out the tank was overflowing. The water was too high and coming out the handle hole. Aka flusher handle. I shut off the water but I was perplexed. Made a call to my son Dustin who has done his share of home repairs. He suggested that I adjust the water level setting on the float. DUH. I'm a little slow.
I did the adjustments and wa la. Fixed. One fix done.
Saturday 8/13
Next, I had to change the shut off valve. Why? Look, this is why.
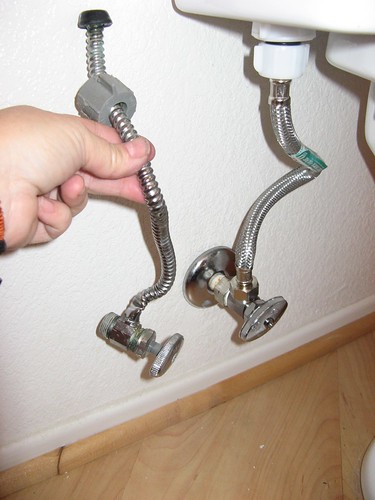
The builder of this home used a cheap metal flex hose. Also the shut off valve is all part of the hose. You can't go and change the hose without taking off the whole valve. That also means you have to shut off the water to the whole house to do boom boom bowl repairs. I agree that my new hose, although beautiful is a bit too long. I will buy a shorter one soon. It is not kinked even though this photo looks it. I love the braided hose.
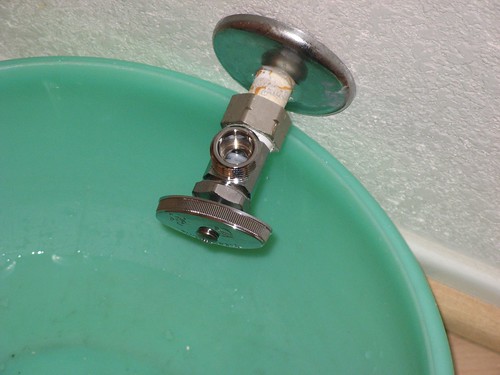
And look at this nice shut off valve.
Now the next concern was the BOLTS. Yes I needed to make sure the throne was secured to the floor. After more conversations with Dustin I knew I had to do the dirty job. I didn't want to have to go there but I also didn't want my guest to tip over when relaxing on the john. So this brings us to here:

Yes I had to lift the toilet from the floor. It really is not hard to do this. You tip it forward and let it sit on some soft towels. Porcelain can crack and break so be very careful.
I put a trash bag in the sewer pipe not because there was an odor but I was scared if I dropped a wrench or tool in the poop shoot well I didn't want to reach down to get it.
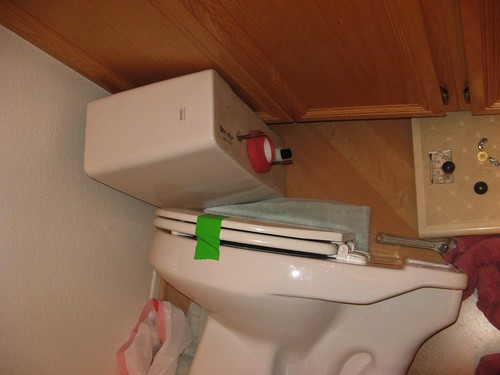
It's a good idea to tape the seat and lid down. How do you like my bright green duct tape?
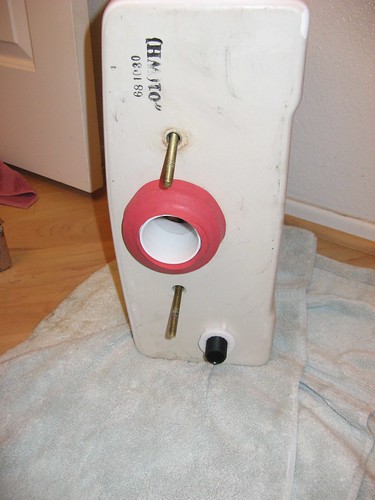
Notice the new reddish gasket on the tank. Yes I changed out everything.
Also it is a very good idea to have some disinfectant and WD-40.
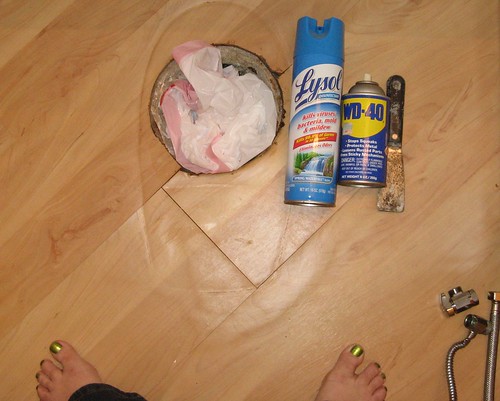
Spray anything or everything. Some people use gloves but I can't work like that so I sprayed everything on this toilet under, up, down and around.
I also cleaned the calking sealant that was around the commode on the floor. I got it shinny.
Use the WD-40 as a solvant for the wax. That wax is thick and icky. I wanted to clean it all off of the bottom of this toilet. And I did.

Dustin gave me a very good idea. When removing old wax put your hand inside a trash bag like a glove and grab the wax. Then the wax is already in the bag when turned right side out.
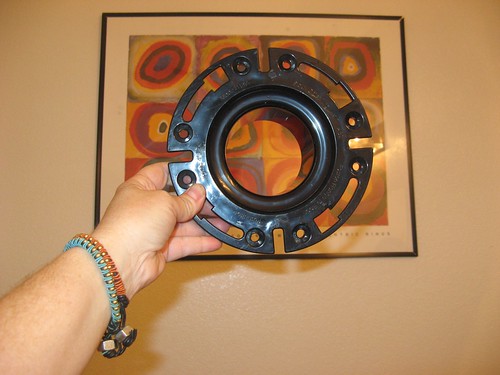
So here is the new PROBLEM. The flange ring. I already removed it in this photo.
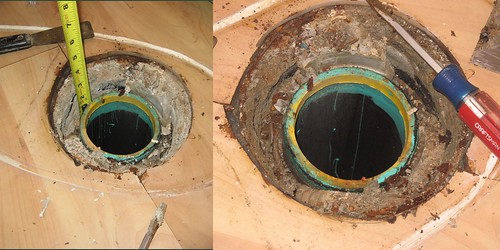
I was astounded. The metal ring that lives in this hole was rusted. But what I discovered when I lifted it was that it was not fastened to the floor. You can see little blobs of cement that maybe at one time the nasty 2 nut bolts were cemented to. But I'm not sure of that. I found only one wood screw in this metal flange and no wood. No wood. The wood screw was clean as a whistle. We have been using this toilet for 10 years. Ugh.
So what to do? How do I fasten my repaired toilet to the floor?????
Well you take photos like the one above to the Home improvement center. You tell him your problem and lickety split the sweet man can help. The photos were printed out very large and were worth a thousand words.
And I had a photo printed out of something I hoped would work; a closet flange.
Well before I could whip out my photo of a closet flange the handsome man had found me a closet flange. I pulled out my photo and he pulled out his closet flange from the shelf.
She sells for about $15.
Look at how pretty she is:
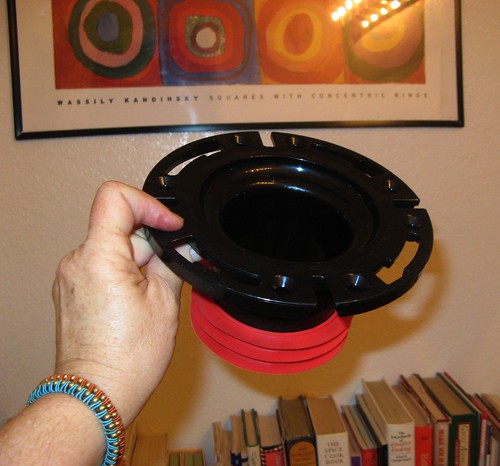
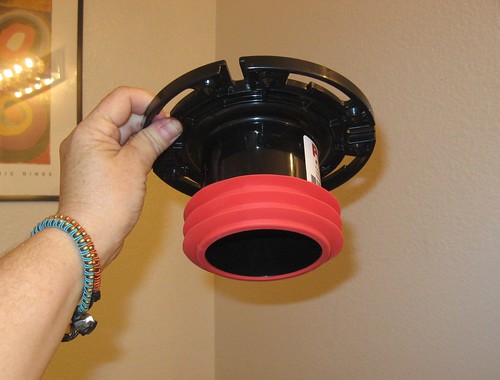
She has red fins and is nice thick plastic. Shinny and clean.
Look at her sleek keyhole bolt holes!!!
Next I got my vacuum and sucked up all the debris around the sewer pipe. I got it all clean and tidy. Then all you do is place this closet flange in the pipe. Make sure you have it placed so that your bolts on each side will be in the slot. Don't have the big keyhole lined up where the commode's bolt hole is.
I forgot to take a photo of the flange in place. And I forgot to take a photo of the wax ring in place. I was on a roll and trying to finish the job. I had just tripped over the vacuum and hurt my pinky toe. It turned purple (it's ok now).
So the next step after placing the flange in the hole was to have it just right. I used my weight by gently stepping on it to help it down. Then with the bottom of the potty all clean I placed the wax. The directions said to place it on the toilet. Well it fell off. So I placed the wax on top of the flange. My wax ring had a plastic flange. It is different from the closet flange with the red fins. A wax flange is a ring about 3" tall and thin. It fits in the middle of the wax ring. Then I took 2 sturdy brass bolts, seen in the 1st photo, and placed them head down threads up in the flange keyholes then slid them in the narrow slot. Dustin gave me another tip. Take a little wax from the new wax and put on the underside of the head of the bolt. That will stick the bolt to the flange. There is enough particles of new wax on the packaging that I used that. I stuck the bolts on.
NOW was the most difficult part of the repair. At least for this 56 year old woman. I had to lift the latrine. And I couldn't do it all wobbly. If the porcelain fixture bumped a bolt then it would fall out of reach. So I had to lift HIGH and lower it carefully. (funny thing that the next day my butt was sore and not my back.)

Here she is seated. Isn't she pretty? You have to sit on it to squish the john into the wax ring. I did sit, get up, sit, get up and check. I took a thick piece of paper to slide flat on the floor and under the privy's edge. There was a little space. So I got Peanut to help. Both of us sat on the toilet and that was the trick. The potty was seated.
Next was to fasten the bolts which is where this whole project began. You can see the old crappy bolts. To think that a contractor would approve such crap is disheartening. When you buy a new house, just built you expect things to be good. During the walk through and inspection you don't remove the little white caps to see how your toilets are fastened to the floor. And while I was down on the floor I couldn't believe how badly they did the molding. Mitered corners that don't meet.
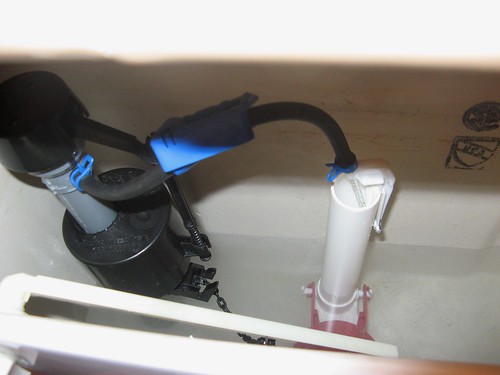
I then needed to reinstall the tank and connect the hoses. Here is the new gasket.
This piece is not too heavy but it is akward. Don't tighten the bolts too tight or you can crack the porcelain. And don't forget to make adjustments inside the tank so that there is no leaks. I got it all together and I heard a hissing. WHAT? NO NO NO. I was tired, hot and my body ached.
I removed a cap on the float thingy and flushed again. The hissing stopped.
No leaks, no floods, nice, clean, white, new guts, bolts, flanges, gaskets, floats, flapper, everything.
Boy does it feel good to do a job well. Good strong components. Pushed myself past what I thought I could do. I thought this was a man's job. But I'm living alone with a 9 year old and I have to do these repairs if I want to save money. I am not opposed to calling a plumber but if I can do a job I will give it a try.
I'm proud to say, I can do that. And I did.
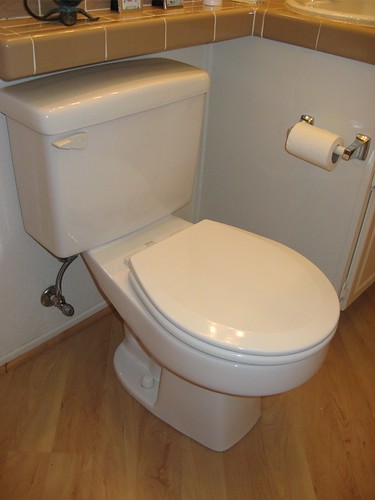
Presenting my porcelain throne. Isn't she pretty?
Happy home repairs
Carol
That is one heck of a job!
ReplyDelete